Master Your Massage Guns: Essential Step-by-Step Guides for Every User
Welcome to your go-to resource for all things massage guns—because who knew there could be so much to learn about a device that just thumps your muscles? Here, we break it all down with easy-to-follow, step-by-step guides that make using (and choosing) a massage gun as simple as possible. Whether you’re trying to figure out which gadget is right for you or just want to avoid accidentally using the thing on turbo mode, we’ve got you covered. We’ll walk you through adjusting speeds, using the right attachments, and keeping your device in tip-top shape—without all the confusing jargon. So relax, follow along, and soon you’ll be massaging those knots like a pro... without any accidental bruises!
How to Use a Massage Gun for Full-Body Recovery: Step-by-Step Guide
Alright, so you’ve got your shiny new massage gun in hand, and you’re ready to give your muscles the VIP treatment. But before you go pounding away at your quads like you’re tenderizing meat, let me walk you through a more refined (and much safer) way to handle this powerful tool.
Step 1: Choose the Right Attachment
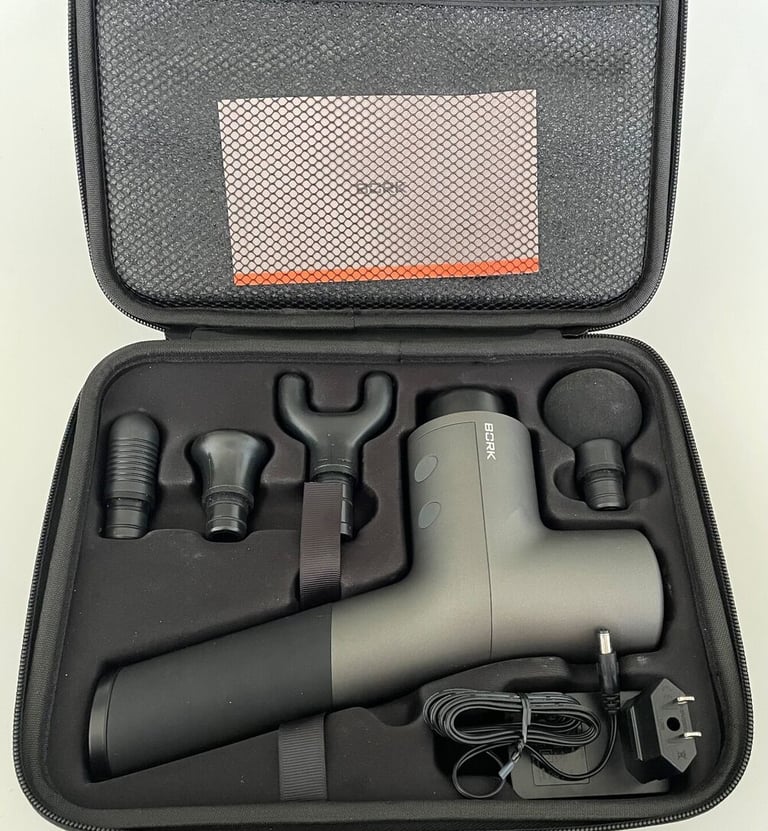
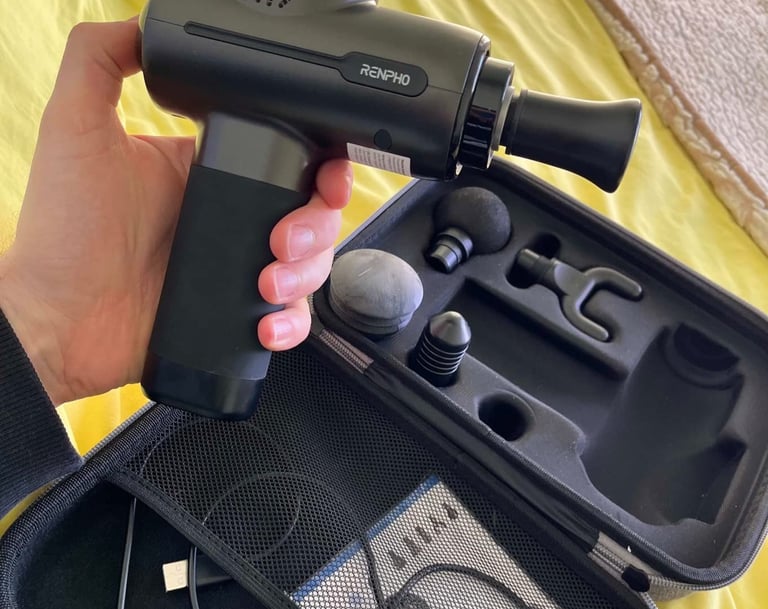
First things first—get to know your attachments. This thing didn’t come with five weird heads just for you to wonder what they do. For bigger muscle groups like your thighs or back, I personally go for the larger, round head. It’s like sending in a bulldozer to handle heavy-duty work. For smaller, more sensitive areas, stick to the smaller heads like the bullet or fork. Trust me, no one wants a bulldozer on their neck.
Step 2: Start at the Lowest Speed
I know, I know—you’re tempted to crank this thing up to max speed right off the bat and see what it can do. Resist the urge. Start slow. Think of it like a first date with your muscles. You don’t want to scare them off, right? The lowest setting lets your muscles adjust to the pressure without the shock factor.
Step 3: Glide it Over Each Muscle Group
Now, for the fun part. Take the gun and glide it (key word: glide) over each muscle group for about 1-2 minutes. No need to rush—this isn’t a race. You’ll feel the tension start to melt away. Think of it like giving your muscles a mini vacation. Pro tip: don’t stay in one spot for too long unless you enjoy soreness that feels like you’ve done three leg days in a row.
Step 4: Increase Speed Gradually
As you get comfortable, you can increase the speed or apply a bit more pressure. Notice the “gradually” part—don’t go Hulk mode just yet. Focus on tense areas and let the gun work its magic. I tend to find knots I didn’t even know existed, but after a few seconds of targeted therapy, they start to give in.
Step 5: Cool Down with Gentle Strokes
After you’ve given your muscles the love they deserve, it’s time to cool down. Dial back to a lower speed, and use gentle strokes. This step is like the cherry on top of a killer workout—relaxing, soothing, and a perfect way to wrap things up.
Bonus Tip: Let the Gun Do the Work
I’ll let you in on a secret: this isn’t a wrestling match. You don’t need to press down with all your strength. Let the massage gun do what it was designed to do. Too much pressure will just make you regret your life choices later. Remember: you’re here for recovery, not self-punishment.
And there you have it! A foolproof, first-person guide to getting the most out of your massage gun for full-body recovery. Follow these steps, and your muscles will thank you—plus, you might even feel like you’re walking on clouds after. Just be sure to stay consistent and enjoy the process, because self-care is serious business (with a bit of fun).
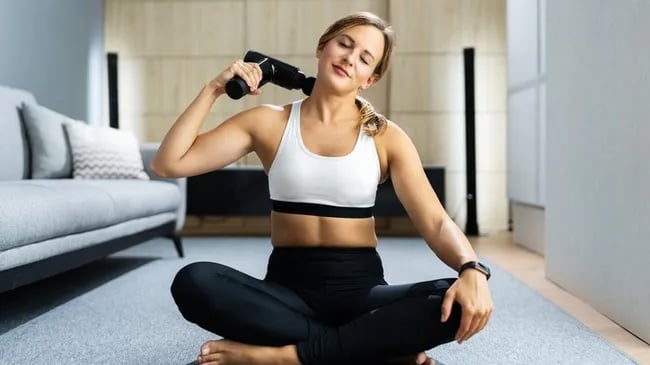

Whether you’re a first-time buyer or a seasoned user, our collection of step-by-step guides will help you get the most out of your massage gun. From understanding the basics in our Beginner’s Guide to learning how to safely target injuries or clean and maintain your device, each guide offers practical advice tailored to specific needs. Discover how to choose the right attachments, improve muscle recovery, and even find the best quiet or portable models for home and travel. These expert walkthroughs ensure you're using your massage gun efficiently and effectively for better results.
How to Choose the Right Massage Gun Attachment: A Step-by-Step Guide
Alright, so you’ve unboxed your new massage gun, and now you’re staring at a bunch of random-looking attachments, wondering, “What are all these weird shapes, and what do I do with them?” Don’t worry—you’re not alone. Picking the right massage gun attachment can feel like trying to choose the right utensil at a fancy dinner. So, let’s break it down step by step and help you become an attachment pro.
Step 1: Know Your Muscles (and Their Needs)
First thing’s first—understand what you’re working with. Got sore quads from leg day? That’s where the trusty round head comes in handy. Need to zero in on a pesky trigger point? The bullet head is your best friend. Larger heads are great for bigger muscle groups like your thighs, while smaller, more targeted ones are perfect for those stubborn knots.
Think of it like matching tools to the job. You wouldn’t use a chainsaw to carve a turkey, right?
Step 2: Sensitive Areas Need Extra Love
When it comes to areas like your neck or lower back, treat them with care. Enter the soft foam head—it’s like giving your sensitive muscles a gentle, warm hug. Personally, I switch to this one when my neck decides to stiffen up after a long day at the desk. It’s the closest thing to a spa day without leaving your house.
Step 3: Flat Head = Deep Tissue Delight
Now, if you’re craving some deep tissue action (because let’s be honest, who isn’t after a tough workout?), the flat head is where it’s at. This bad boy is designed to cover larger muscles and really dig in. It’s like getting a deep tissue massage without the awkward small talk.
Step 4: Fork it Over for the Spine and Achilles
Ah, the fork attachment. This one looks a little intimidating at first, but trust me, it’s a game changer for your spine and Achilles tendon. The two prongs let you massage along both sides of your spine without putting direct pressure on the bones. It’s like threading a needle… if that needle was made for back pain relief. Just don’t press too hard—you want to feel relaxed, not like you’ve been hit by a freight train.
Step 5: Experiment, Experiment, Experiment
The best way to figure out which attachment works for you is to just try them all. Seriously—experiment. Everyone’s body is different, and what feels amazing on one person might feel "meh" on another. I found that out when I used the bullet head on my shoulders and, well, let’s just say my traps were not having it. So, play around with them and see what your muscles respond to.
Bonus Tip: When in Doubt, Read the Manual
I know, reading the manual isn’t exactly exciting, but trust me on this one. It’s there to give you the lowdown on which attachment works best for each muscle group. So, before you go full DIY, give it a quick glance. Your muscles (and your sanity) will thank you later.
There you have it—a no-nonsense guide to choosing the perfect massage gun attachment for every part of your body. Now you can stop guessing and start massaging like a pro. Just remember, the key to muscle relief is not brute force—let the right attachment do the work for you. Now go forth and massage away!

How to Clean and Maintain Your Massage Gun: A Step-by-Step Guide
So, you’ve been using your massage gun religiously to obliterate those sore muscles (good for you!), but now it’s time to show your trusty device some TLC. Let’s face it—anything that spends this much time pressed up against your skin probably deserves a little cleaning, right? Don’t worry, it’s not as complicated as it sounds. Let me walk you through the process in five simple steps.
Step 1: Power Off & Unplug
First rule of thumb: don’t start cleaning while it’s still plugged in. This isn’t the time to test how waterproof it is! Unplug the device if it’s charging, and make sure it's powered off. I mean, no one wants to be that person who accidentally turns it on mid-clean and ends up with a wild, rogue massage gun bouncing across the room.
Step 2: Wipe It Down
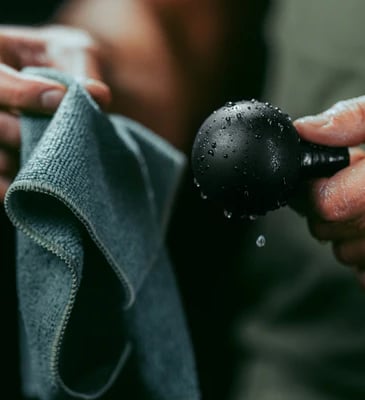
Grab a soft, damp cloth (think baby wipe vibes, not drenched towel), and gently clean the body and handle of your massage gun. This will get rid of any sweat, dust, or fingerprints that have decided to make themselves at home. Personally, I like to imagine my massage gun giving me a little “thank you” every time I wipe it down—after all, it works hard too!
Step 3: Clean the Attachments
Now, let’s talk about those attachments. These bad boys do all the heavy lifting, so they definitely need some love. Remove each head and clean them with warm, soapy water. Just be sure to dry them thoroughly before reattaching—water and electrical devices are not the best of friends. Oh, and maybe take a moment to marvel at just how much grime comes off. (Who knew massaging muscles could be so… messy?)
Step 4: Store It Right
When you’re done, don’t just toss your massage gun on the floor like a gym towel. It deserves better than that! Store it in its carrying case (if it came with one) or in a cool, dry place. Trust me, nothing says “I care” quite like proper storage. Plus, keeping it safe from dust and damage will extend its life. Consider it like giving your massage gun a mini spa day.
Step 5: Battery Check-Up
Just like you need to recharge after a long day, so does your massage gun. Keep an eye on the battery level and recharge it as needed. Letting the battery run down too low too often can actually impact its long-term performance. So, give it the juice it needs to keep helping you recover like a champ.
Bonus Tip: Skip the Harsh Chemicals
Here’s a pro tip: while you might be tempted to grab a bottle of your go-to cleaning spray, resist. Harsh chemicals can damage the finish of your massage gun, making it look less sleek and more… well, shabby. Stick to mild soap and water—it’s all you need.
And there you have it! Keeping your massage gun clean and well-maintained is not only easy, but it also helps your device last longer. Plus, there’s something strangely satisfying about giving your recovery tool a little recovery of its own. Now go forth, massage (and clean) like a pro.

How to Safely Use a Massage Gun for Injury Recovery: A Step-by-Step Guide
Alright, so you’re nursing an injury and eyeing your massage gun, wondering if it’s a good idea to bring it into the recovery game. I get it—the idea of speeding up the healing process is super tempting. But before you dive in, let’s make sure we’re doing this the right way (because the last thing you want is to turn a sore muscle into a full-on disaster). Here’s my step-by-step guide on how to safely use that massage gun to help you bounce back—without making things worse.
Step 1: Check with a Pro
First things first, ask a healthcare professional if using a massage gun on your specific injury is a go. Look, I know the impulse to just start buzzing away, but trust me, getting that “all clear” from your doctor or physical therapist is key. You don’t want to be the person who turned a minor muscle tweak into a major issue because they decided to skip this step.
Step 2: Ease In (Literally)
Once you’ve got the green light, it’s time to ease in—gently. Start on the lowest setting and work around the injured area, not directly on it. Think of it like painting a delicate picture: you want to carefully work around the edges, not go straight for the bullseye. Plus, applying too much pressure too soon might just send you running back to the ice packs.
Step 3: Short and Sweet
This isn’t a marathon—it’s a short sprint. Keep each session to 30 seconds to 1 minute on the injured area. Trust me, less is more here. You’re aiming to improve circulation and reduce tension, not hammer away at the injury like you’re sculpting marble. Your muscles will thank you for it later.
Step 4: Gradually Step It Up
As your body starts to heal, you can gradually increase the intensity. Think of it like slowly turning up the volume on your favorite song. Too much too soon can lead to, well, a musical mess—or in this case, an aggravated injury. Listen to your body, and let it guide you on when to crank things up a notch.
Step 5: Make It Part of Your Routine
Incorporating the massage gun into your rehab routine can be a game-changer for muscle recovery. Consistency is key here. I’m talking about making it a regular part of your warm-up or cool-down sessions, like brushing your teeth—but way more fun and less minty.
Bonus Tip: No Guns on Broken Bones
And here’s the golden rule: do not use your massage gun on broken skin, bones, or areas with serious inflammation without checking with a professional. I mean, would you use a jackhammer to fix a cracked window? I didn’t think so.
That’s it! With the right approach, your massage gun can be a fantastic tool for injury recovery, helping you heal faster and feel better. Just remember, always start slow, listen to your body, and don’t go rogue on those injured spots.
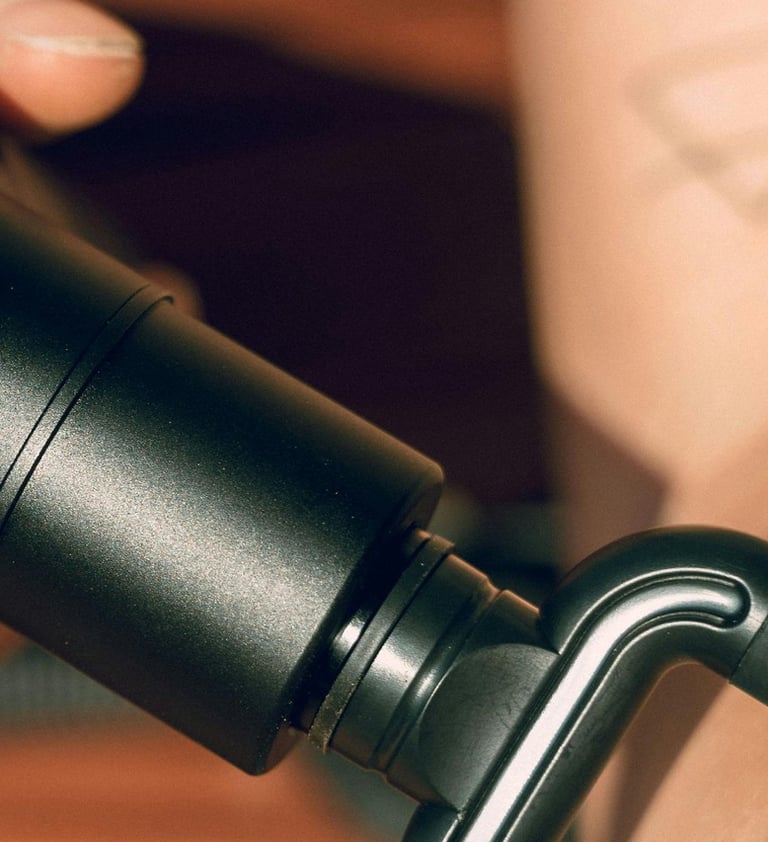


The Pros and Cons of Massage Guns vs. Professional Massages

The Ultimate Buying Guide: How to Choose a Massage Gun That Fits Your Budget
Double the Delight: Two Reads You Can’t Miss!
Pulse Therapy Hub
Your guide to massage guns.
Support
ryan@pulsetherapyhub.com
© 2025. All rights reserved.
